the world in your pocket
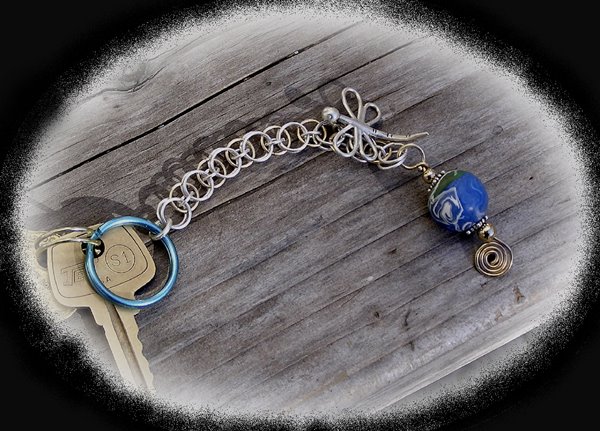 I've been meaning to post about the little chain I got started with in this current phase of chainmaking. I needed a gift, supposedly under $10 value (but some members seem to be VERY good at shopping!) for the gift-giving at the naturalists' party. I'd been considering it a while. Not-too-expensive, unisex gifts are tricky, especially if making jewelry is your exper-tise. I got the Keren Hill Tribe dragonflies way back months ago with a Master Naturalist gift in mind. I was trying to figure out how to do a tie-keeper chain that could convert into a toggle-fastened bracelet, but without success so far. Then I came across some neat colored key rings and was inspired to do a key chain, using the dragonfly and also one of my remaining polymer clay planets.
 Well, the days went by and the party got closer, and still it wasn't made. The evening before I spent making my cathedral cake, which was also an exercise in creativity. So I'm up at 5am to make a chain. Sawed out 16 large and 7 small silver links, and 7 GF ones, and started to put it together. Turned out my links didn't work together. The GF wouldn't encircle the small silver ones, and the silver ones were too tight to hold four large links each plus the space required by the GF one in between. So at 8, when Ellen came, I was cussing and clipping out bigger links with clippers. I got it put together, and it looked nice, but of course the clipped links weren't as good as sawed ones. Moreover, in my
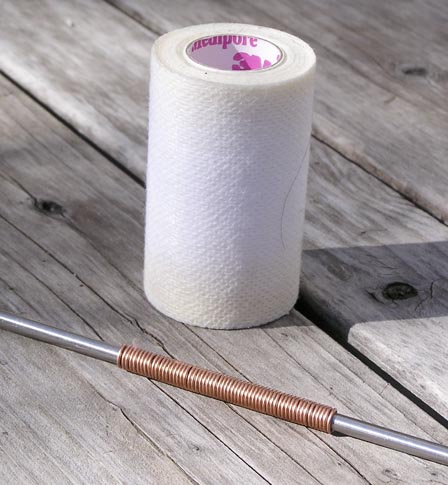
 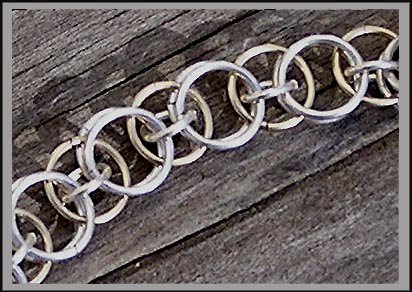 hurry, before I gave up on the saw, I practically wore through the skin of the finger holding the coil with the back side of the blade, which of course is about knife-thin.
chain detail
Well, I did it and got to the party on time, and I hope the gift was appreci-ated. I don't know the name of the woman who got it. But I came home, and worked on improving my sawing technique, and made another one for me. However, this afternoon I gave it instead to Melynda Behrens, my new tenant, when I gave her her keys. But at least I did run outside and get a photograph.
posted by AbigailM at 8:30 PM
0 comments
![]()